
Showing posts with label Crochet. Show all posts
Showing posts with label Crochet. Show all posts
August 12, 2015


May 13, 2015
WIP Wednesday: crochet lace top
Usually I'm not much into crochet or knit garment. I find them quite daunting. Specially if they are constructed in motifs. I end up making half of them. And quit the whole project within days. So when found this amazing pattern by Doris Chan, made from top to bottom in one piece, I gave it a go.
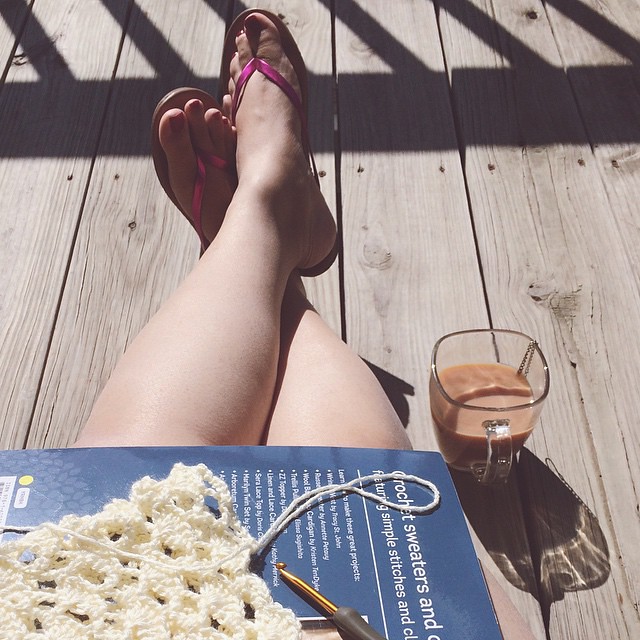 So that's what I've been up to. I'm on to the last sleeve. Give me a day or two, I'll be a proud owner of a cute lacy crochet top.
Also summer is finally here. Yay! My new favorite thing to do is to sit in my balcony with a cup of tea and a good book (or crochet project) and soak up some sunshine. Happy sunny days! ☀
Also summer is finally here. Yay! My new favorite thing to do is to sit in my balcony with a cup of tea and a good book (or crochet project) and soak up some sunshine. Happy sunny days! ☀
May 8, 2015
Mama and Baby Mushroom Amigurumi
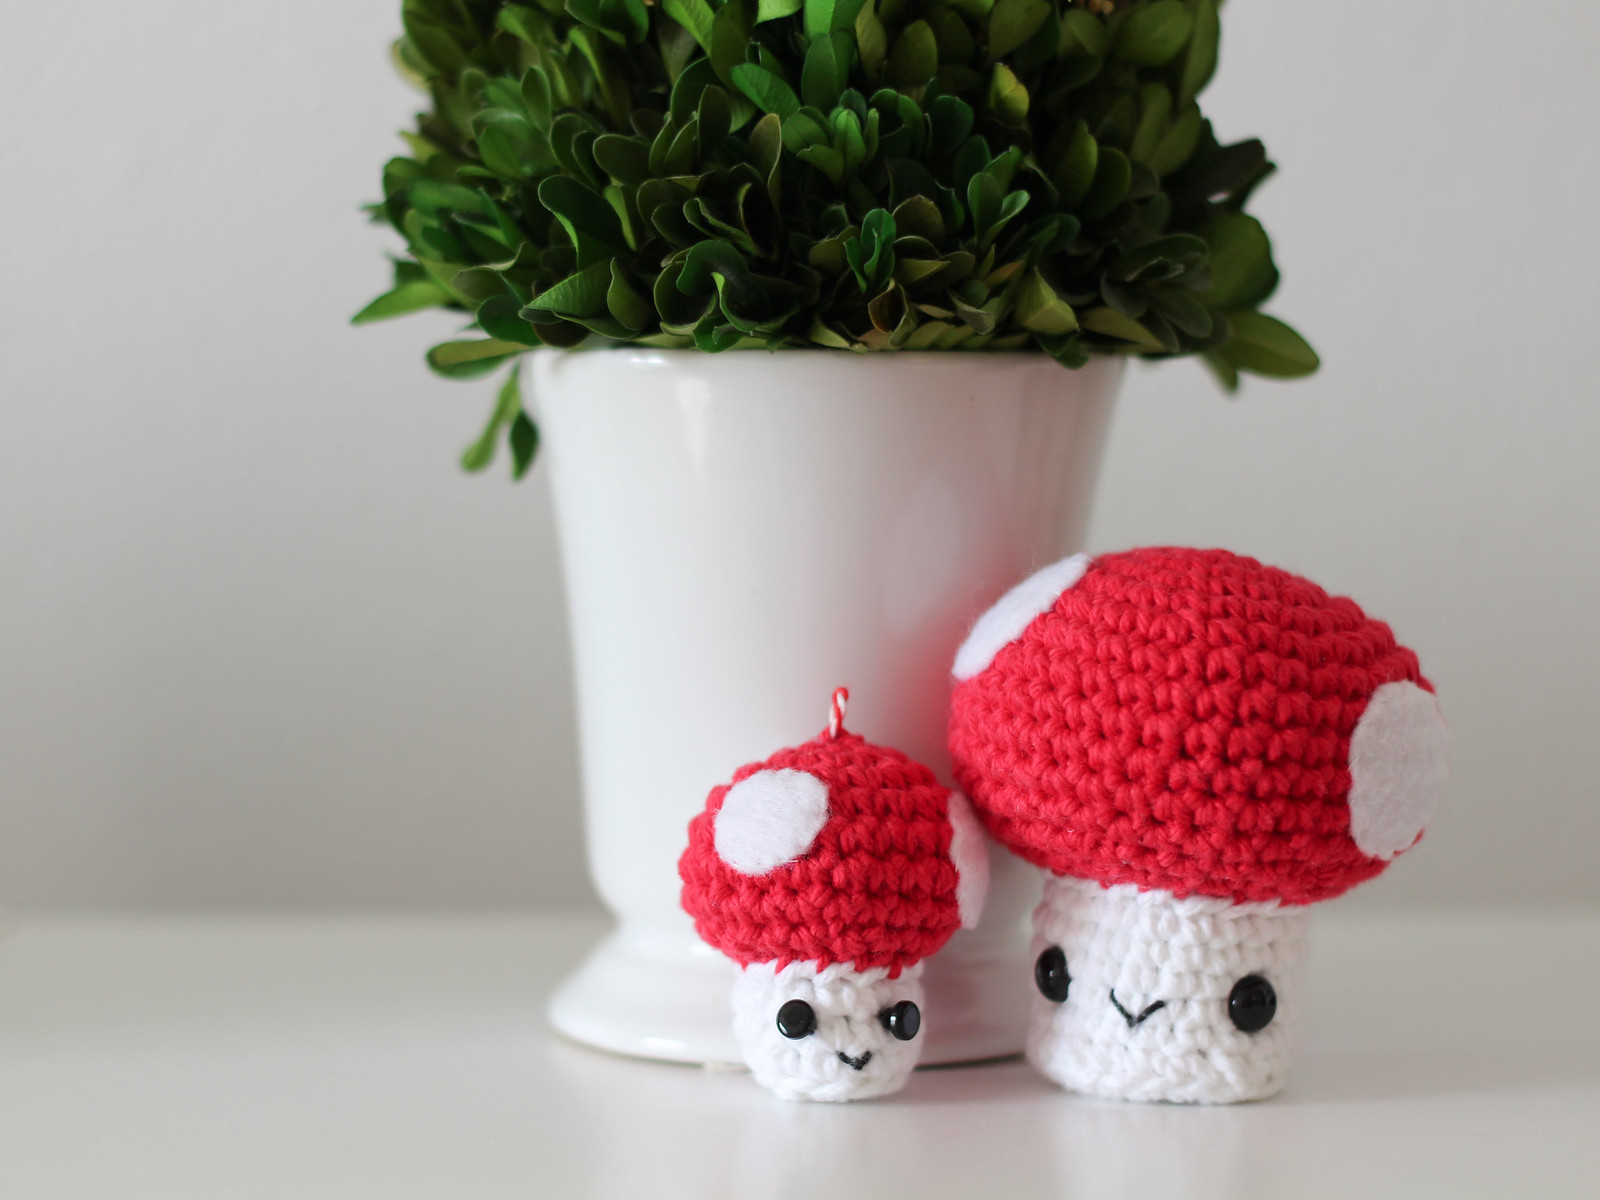
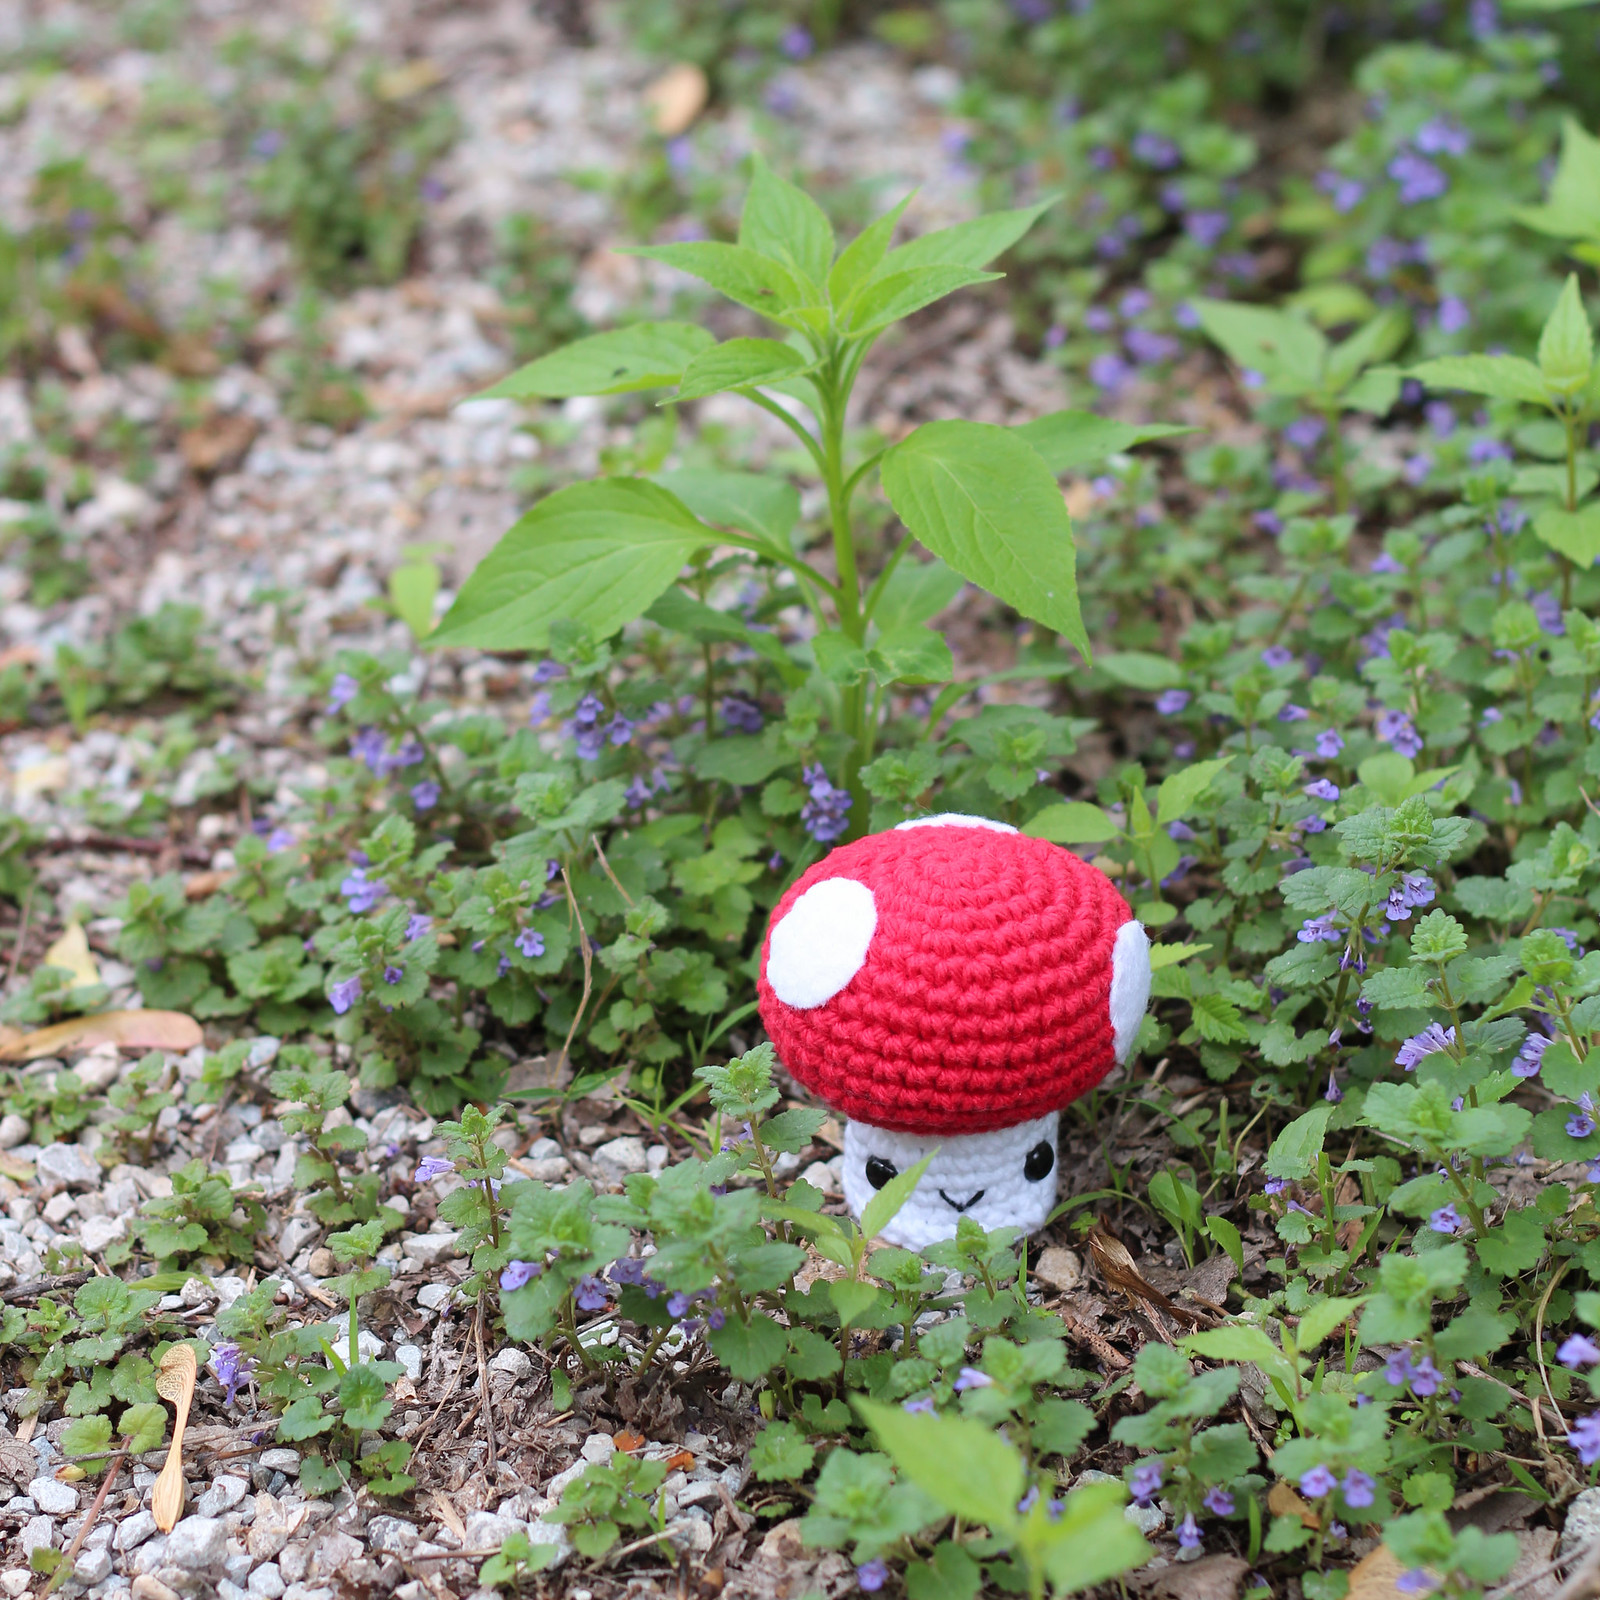
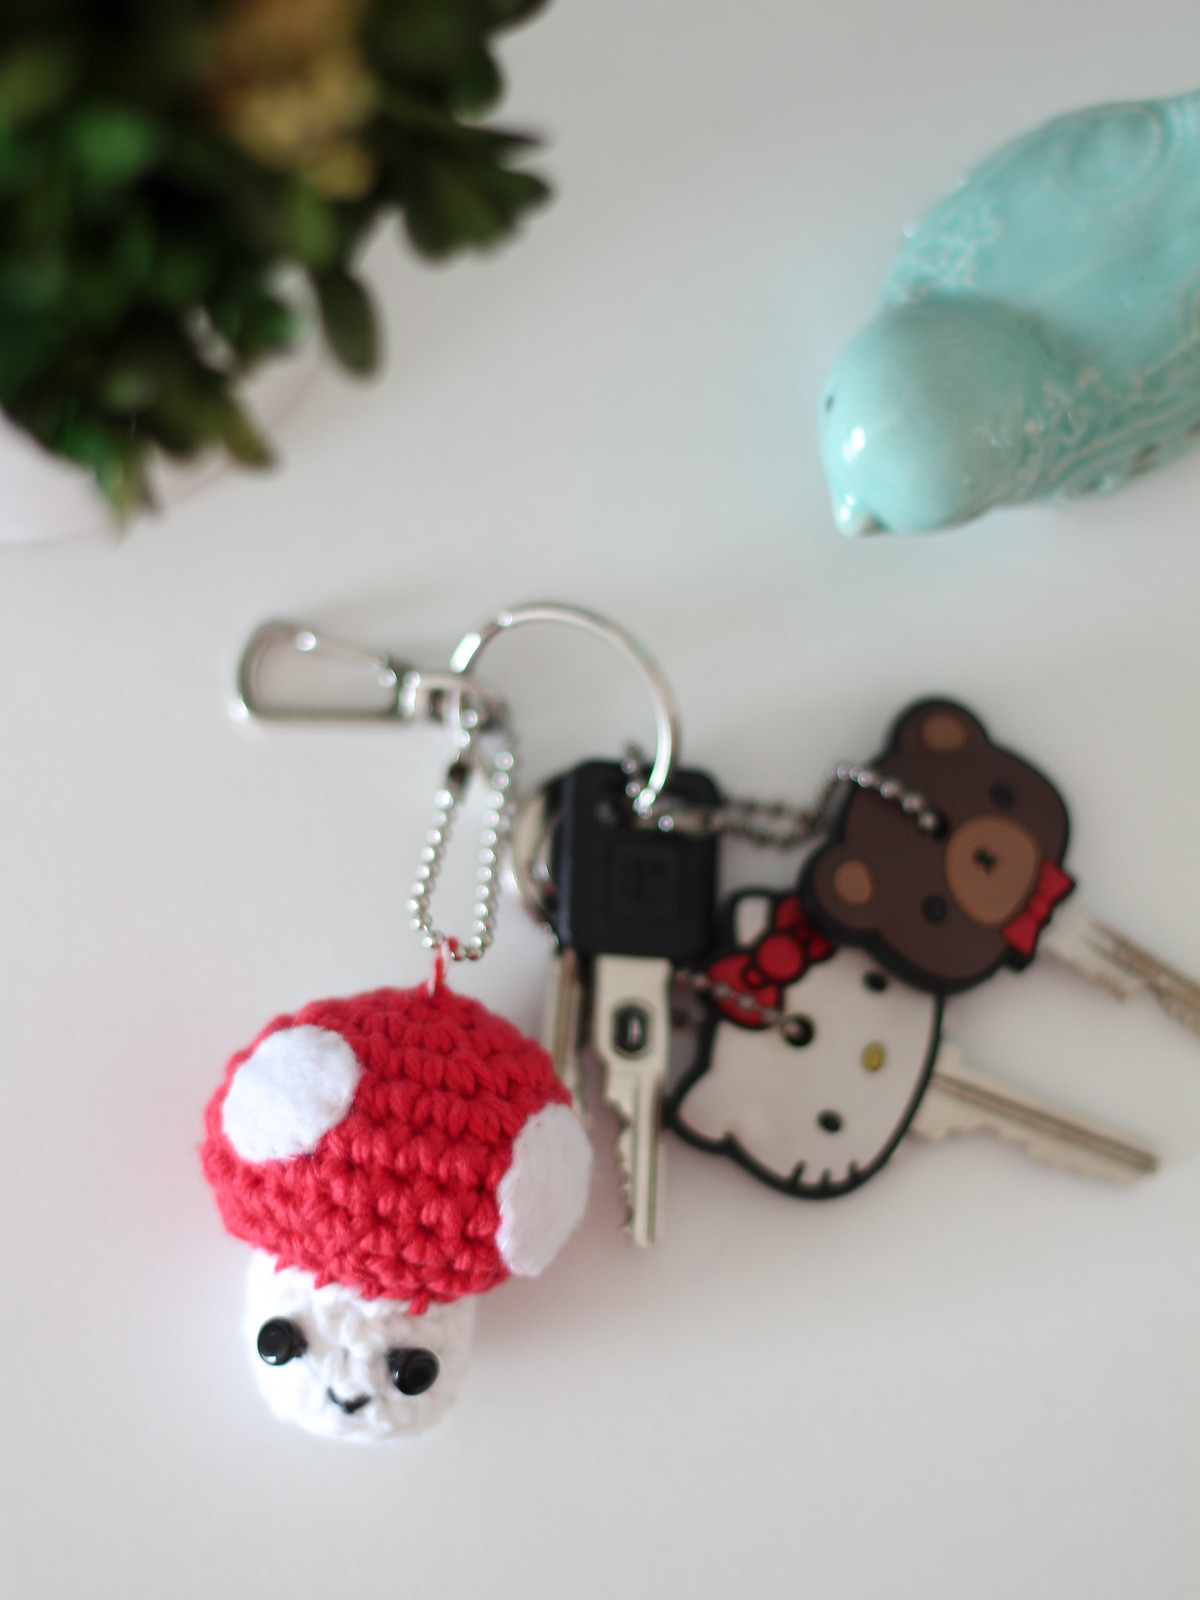
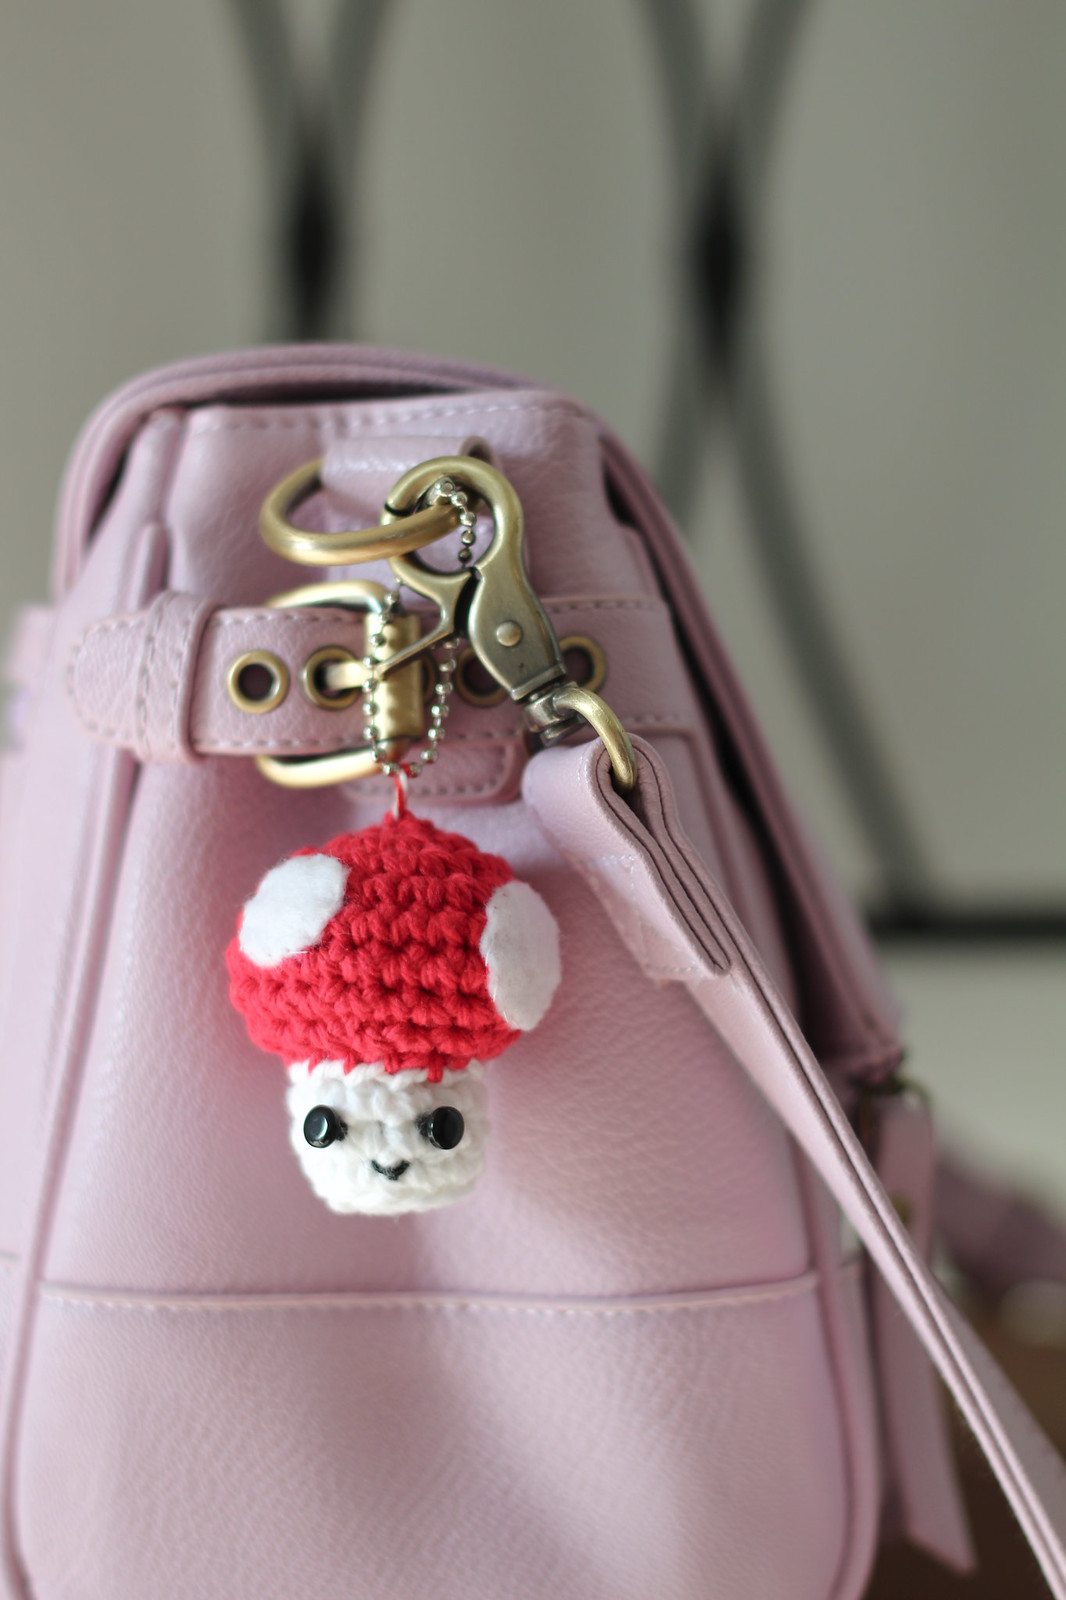
What fun/cute crafting have you been doing lately? Do share!
October 30, 2014
Baby Owl Amigurumi
Sometimes I feel a bit sorry that I don't make enough amigurumis. Crochet has always been my favorite way to unwind, but making amigurumis can feel a bit overwhelming and mentally taxing. So it's been a while I made one. Recently, I wanted to make something for a friend, C. And I was looking for something cute yet simple. After a while, I found this baby owl amigurumi pattern over at Ravelry by Josephine of A Morning Cup of Jo Creations.
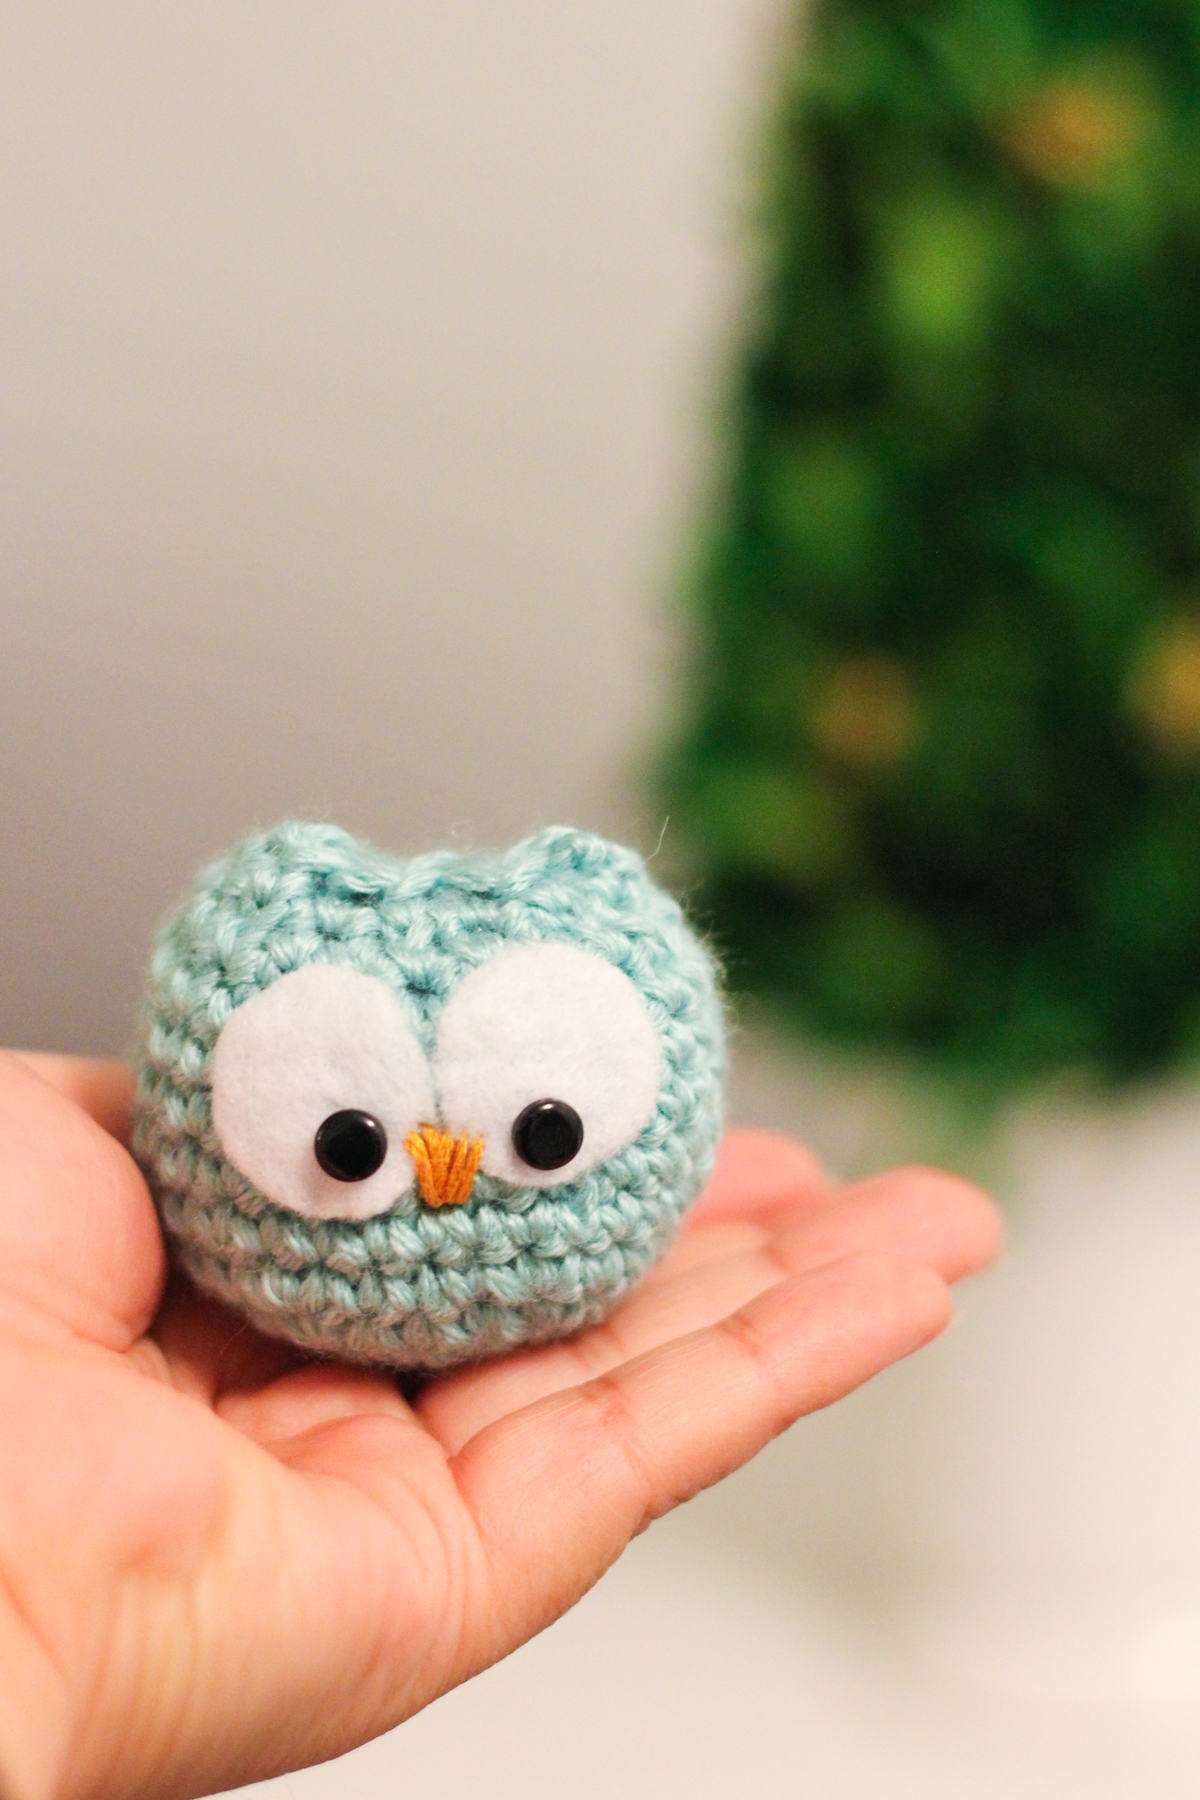
It turned out to be absolutely adorable! I used a little bit of my favorite yarn (Caron Country - which is, sadly, discontinued) and an hour and a half later it was done! And half of it was spent attaching the eyes, because I didn't have fabric glue or safety back eyes. I used the same black buttons that I used on my owl Kindle cozy. Yes, I hand sewed these parts. but it didn't bother me for a bit.
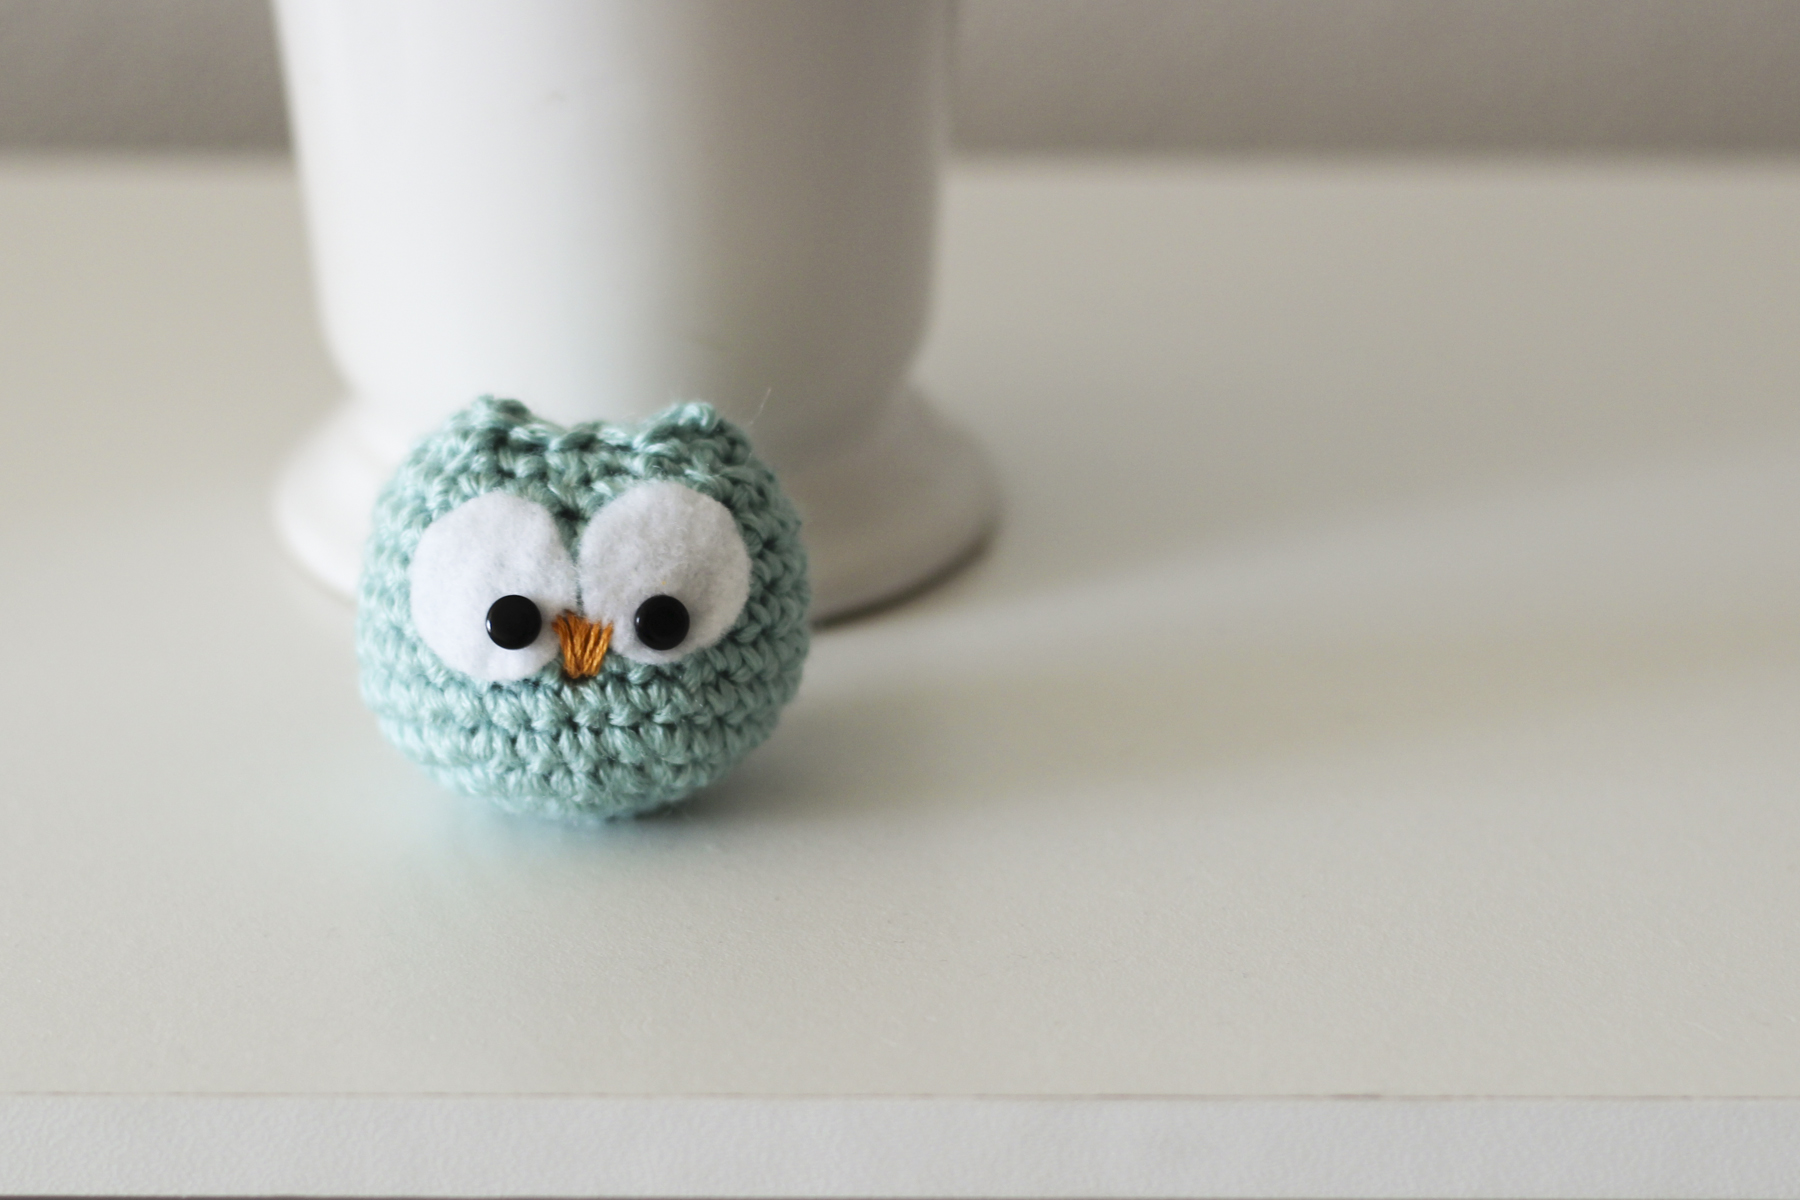
Instead of making it an ornament, I attached with some key chain parts that I found in Joann. Too bad he had to fly all the way to Arizona later that day, so I don't have a picture with the key-chain on. But I tell you this, he was pretty tree-topper . Now I wanna make this guy in all the possible colors.
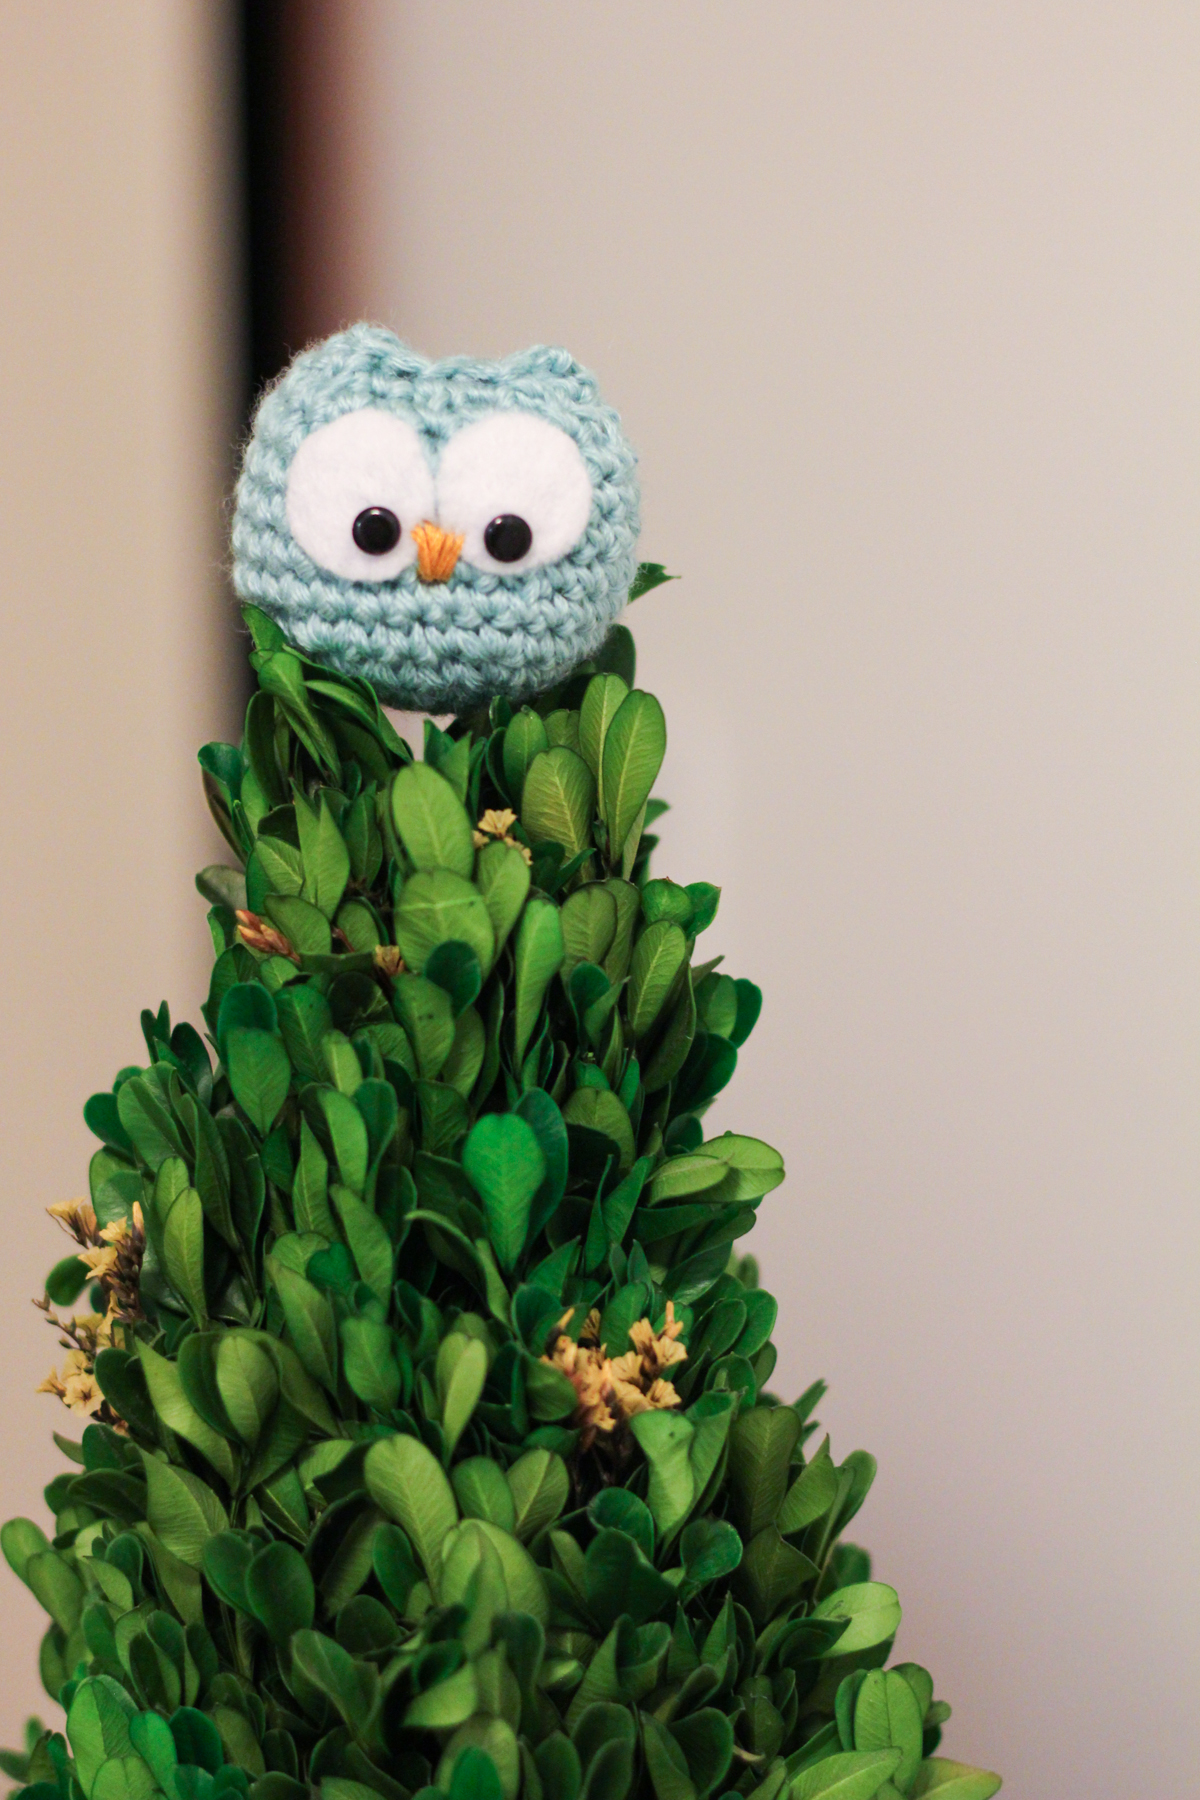
Do you make amigurumis? Do you have any favorite pattern? Do share!
It turned out to be absolutely adorable! I used a little bit of my favorite yarn (Caron Country - which is, sadly, discontinued) and an hour and a half later it was done! And half of it was spent attaching the eyes, because I didn't have fabric glue or safety back eyes. I used the same black buttons that I used on my owl Kindle cozy. Yes, I hand sewed these parts. but it didn't bother me for a bit.
Instead of making it an ornament, I attached with some key chain parts that I found in Joann. Too bad he had to fly all the way to Arizona later that day, so I don't have a picture with the key-chain on. But I tell you this, he was pretty tree-topper
. Now I wanna make this guy in all the possible colors.Do you make amigurumis? Do you have any favorite pattern? Do share!
January 15, 2014
Hats and more hats
One of my very favorite things to crochet is hat. It requires minimal amount of time, effort and yarn. Most of the hats I have made only required one ball of yarn. And they are great gifts. I don't know about you, but the Guy only wears hats in winter. He's one of those people who get their winter jackets out at the last minute. He doesn't care much about gloves or scarves. The reason is quite a mystery- it's either his manly men psyche or he's actually rather hot (har). So every winter I make him hats, loads of hats.
The thing is there are not so much interesting crochet hat patterns out there. There are hundreds of beanie hats, but beyond that, not much. Knitted hats on the other hand are beautiful and in lots of varieties. Being a noob in the knitting trade, I'm somehow terrified about joining in rounds and decreases and such. Then again, you cannot just NOT do something because you are terrified. (Just don't encourage me to pet a cockroach; I might faint). So I knitted one in round too.
Here are a couple of my favorite hats I made for the Guy so far. #1 and #2 are essentially the same pattern. The only difference between these two are the placement of the single crochets. The pattern is my absolute favorite! I have made couple of few hats for gifts and got lots of compliments. You can find the pattern here through Ravelry.


The next one is a knitted hat. The pattern was found in Lion Brand's website. It's a fairly easy knit pattern. I love the colors I used instead of the original. The Guy was excited, because it turned out to be a very soft hat.

After reading a very good article on basics of making hats in rounds in Crochet Accessories Magazine, I've decided to make my own hats. And the next one was the fruit of that labor. I love the subtle ribbing textures in diamond patterns. I'm very proud of this pattern. And the Guy is in absolute love too!

Do you like winter hats? Or do you like making them for loved one? Do you feel like you'd want to make one of these in the future? Let me know in the comments below. I love reading your comments!
The thing is there are not so much interesting crochet hat patterns out there. There are hundreds of beanie hats, but beyond that, not much. Knitted hats on the other hand are beautiful and in lots of varieties. Being a noob in the knitting trade, I'm somehow terrified about joining in rounds and decreases and such. Then again, you cannot just NOT do something because you are terrified. (Just don't encourage me to pet a cockroach; I might faint). So I knitted one in round too.
Here are a couple of my favorite hats I made for the Guy so far. #1 and #2 are essentially the same pattern. The only difference between these two are the placement of the single crochets. The pattern is my absolute favorite! I have made couple of few hats for gifts and got lots of compliments. You can find the pattern here through Ravelry.
The next one is a knitted hat. The pattern was found in Lion Brand's website. It's a fairly easy knit pattern. I love the colors I used instead of the original. The Guy was excited, because it turned out to be a very soft hat.
After reading a very good article on basics of making hats in rounds in Crochet Accessories Magazine, I've decided to make my own hats. And the next one was the fruit of that labor. I love the subtle ribbing textures in diamond patterns. I'm very proud of this pattern. And the Guy is in absolute love too!
Do you like winter hats? Or do you like making them for loved one? Do you feel like you'd want to make one of these in the future? Let me know in the comments below. I love reading your comments!
August 27, 2013
Granny Square Lap Blanket
There is something about granny squares that always made me cringe. I never attempted to make anything with these, no matter how pretty they looked on someone else's blog/book. Maybe I had some sort of self doubt about not being able to pick a great color combination. Or something like that. So I pushed granny squares in the deepest corner on my mind.
Then one day, I wanted to a make a blanket. Something to cuddle in; with a good book and a cup of my favorite tea. And then I thought, 'you know everyone should have a granny blanket, no matter how square they look.' I know, silly. So I started to make this. I had some white yarn already. To keep it neutral, I picked some grey yarn from the same family. Funny thing is both of them were from Bernat Softee Baby line (I used white and flannel). So basically I was making a baby blanket. :)

 After 5 balls of yarn and many Star Trek episodes later, I finally finished it! The finished product ended up being 44 inch by 44 inch. It's a good size for either a lap blanket or a baby blanket. Using baby yarn (is that a thing?) made it very soft and comfortable for cuddle sessions. If you want to make the exact same blanket, let me know, I'll post the pattern.
 What new crafty decisions have you adopted lately?
Then one day, I wanted to a make a blanket. Something to cuddle in; with a good book and a cup of my favorite tea. And then I thought, 'you know everyone should have a granny blanket, no matter how square they look.' I know, silly. So I started to make this. I had some white yarn already. To keep it neutral, I picked some grey yarn from the same family. Funny thing is both of them were from Bernat Softee Baby line (I used white and flannel). So basically I was making a baby blanket. :)
January 31, 2013
Chunky Double Crochet Cowl
Couple of days ago I made this beautiful chunky cowl which I am enjoying currently. It is so warm and cozy!!! As the weather is becoming terribly cold here in Midwest, it is the perfect thing to wear. Also it took me only 3 hours to crochet the whole thing. Now I want to run to Michaels' to get all the chunky yarns and start making a ton of them! The pattern is from the lovely Stephanie, who blogs over at All About Ami. I adapted this from two of her patterns.

The yarn was Lion Brands Wool-Ease® Thick & Quick® in Fisherman. I made it with 100 chains and worked in rounds. Which gave me a fairly lengthy (total length/circumference is 54 inch) cowl. After working 8 rounds, it ended up 6.5 inch wide. I wanted to loop it twice around my neck on extra cold days. So mission accomplished!

What is your favorite thing to crochet for cold weather? Please do share. I love to hear from you!
The yarn was Lion Brands Wool-Ease® Thick & Quick® in Fisherman. I made it with 100 chains and worked in rounds. Which gave me a fairly lengthy (total length/circumference is 54 inch) cowl. After working 8 rounds, it ended up 6.5 inch wide. I wanted to loop it twice around my neck on extra cold days. So mission accomplished!
What is your favorite thing to crochet for cold weather? Please do share. I love to hear from you!
January 24, 2013
Diagonal Puffy Striped Cowl: Pattern

This cowl is worked in rounds. So placing the bobble stitches become a bit tricky to create the diagonal pattern. I have included pictures for clarification. The blue arrows represent the bobble stitch and the black ones single crochet. Also, note that the cowl is made while facing the right side and never turning. The made bobbles will puff up on the wrong side of the work. Using your fingertip or the eraser side of a pencil, push the bobbles to puff them up on the right side. Do this every time you finish an odd numbered round. This will make it easier to work the even numbered rounds. If you run into problems while creating this, please let me know. I will be more than happy to help.
The Material
Approximately 28 inch in circumference and 5.5 inch in width
Gauge
1 bobble & 4 sc = 1.25 inch
Bobble Stitch
[Yarn over, insert hook in stitch, yarn over and draw up a loop, yarn over and draw through first 2 lops on hook] 4 times all in same stitch, yarn over and draw through all 5 loops on hook
Begin
Loosely chain 110 ( or any multiple of 5). Carefully join by making a slip stitch into the first chain; make sure the chain is not twisted.
Foundation / Edge Round: Ch 3 (counts as first dc), * 1 dc into next st; repeat from * to the end. sl st in the 3rd ch to join. (110 dc)
Round 1: ch 1, * work bobble st on the first st, 1 sc in each of next 4 sts; repeat from * to the end. sl st to the top of the first bobble or ch 1 to join. (22 bobble sts)
The first bobble stitch will be on the same stitch, 3rd ch, you joined the previous round at.

Round 2: ch 1, * 1 sc into next st; repeat from * to the end. sl st to the first sc to join. (110 sc)
Round 3: ch 1, 1 sc into next st, 1 bobble into next st, * 1 sc in each of next 4 sts, 1 bobble in the next st; repeat from * to the end. 1 sc in each of last 3 sts. sl st to the first sc to join.

Round 4: repeat Round 2.
Round 5: ch 1, 1 sc into each of next 2 sts, 1 bobble into next st, * 1 sc in each of next 4 sts, 1 bobble in the next st; repeat from * to the end. 1 sc in each of last 2 sts. sl st to the first sc to join.

Round 6: repeat Round 2.
Round 7: ch 1, 1 sc into each of next 3 sts, 1 bobble into next st, * 1 sc in each of next 4 sts, 1 bobble in the next st; repeat from * to the end. 1 sc in the last st. sl st to the first sc to join.

Round 8: repeat Round 2.
Round 9: ch 1, * 1 sc in each of next 4 sts, 1 bobble in the next st; repeat from * to the end. 1 sc in the last st. sl st to the first sc to join.

Round 10: repeat Round 2.
Repeat rounds 1 - 10 until desired width is achieved.
Last round: Repeat foundation round once. Fasten off.
All done!!

The Material
- 2 skeins (102 yd each) light weight yarn (wt #3) - I used Patons® Silk Bamboo in Orchid
- a size 7 (4.50 mm) crochet hook (you could also use a size 'G' - 4.25 mm hook; the finished size will be a little bit smaller and narrower)
- tapestry needle
Approximately 28 inch in circumference and 5.5 inch in width
Gauge
1 bobble & 4 sc = 1.25 inch
Bobble Stitch
[Yarn over, insert hook in stitch, yarn over and draw up a loop, yarn over and draw through first 2 lops on hook] 4 times all in same stitch, yarn over and draw through all 5 loops on hook
Begin
Loosely chain 110 ( or any multiple of 5). Carefully join by making a slip stitch into the first chain; make sure the chain is not twisted.
Foundation / Edge Round: Ch 3 (counts as first dc), * 1 dc into next st; repeat from * to the end. sl st in the 3rd ch to join. (110 dc)
Round 1: ch 1, * work bobble st on the first st, 1 sc in each of next 4 sts; repeat from * to the end. sl st to the top of the first bobble or ch 1 to join. (22 bobble sts)
The first bobble stitch will be on the same stitch, 3rd ch, you joined the previous round at.
Round 2: ch 1, * 1 sc into next st; repeat from * to the end. sl st to the first sc to join. (110 sc)
Round 3: ch 1, 1 sc into next st, 1 bobble into next st, * 1 sc in each of next 4 sts, 1 bobble in the next st; repeat from * to the end. 1 sc in each of last 3 sts. sl st to the first sc to join.
Round 4: repeat Round 2.
Round 5: ch 1, 1 sc into each of next 2 sts, 1 bobble into next st, * 1 sc in each of next 4 sts, 1 bobble in the next st; repeat from * to the end. 1 sc in each of last 2 sts. sl st to the first sc to join.
Round 6: repeat Round 2.
Round 7: ch 1, 1 sc into each of next 3 sts, 1 bobble into next st, * 1 sc in each of next 4 sts, 1 bobble in the next st; repeat from * to the end. 1 sc in the last st. sl st to the first sc to join.
Round 8: repeat Round 2.
Round 9: ch 1, * 1 sc in each of next 4 sts, 1 bobble in the next st; repeat from * to the end. 1 sc in the last st. sl st to the first sc to join.
Round 10: repeat Round 2.
Repeat rounds 1 - 10 until desired width is achieved.
Last round: Repeat foundation round once. Fasten off.
All done!!
January 11, 2013
Diagonal Puffy Striped Cowl
I have been wanting to make a cowl for sometime now. After all, it is winter and cowls seems to be the popular choice of the season. But after two failed attempts I wasn't quite sure anymore. You see, I had this lovely plum yarn. The color itself is very lovely. But it doesn't go well with other colors. So I frogged my first attempt. Then I started a heavily textured pattern. And the pattern was eating up yarn like crazy. So I had to rip that one, too. And then couple of days ago, I came up with this simple pattern, which had some texture, but not too much. And... and... it took me only three days to finish it! Behold the Diagonal Striped Cowl.

Here's me wearing it. As you can see, it is not quite thick or long. It is one of those cowls that stay close to your neck. But it is not quite tight either. It may be modified to be longer or shorter (or wider) to your desire. But I loved this length and width!

Here's a closer look at the cowl.

Err... it doesn't look quite right. How about this one? Apparently, it is a bit hard to take a self portrait while focusing on the cowl. Oh well!

See? The pattern is rather simple! The staggered bobble stitches make the diagonal stripes.
Of course, you can try to figure out the pattern from this. (^_^) But I'll be posting the pattern pretty soon, I promise. Until then, happy crocheting!
Here's me wearing it. As you can see, it is not quite thick or long. It is one of those cowls that stay close to your neck. But it is not quite tight either. It may be modified to be longer or shorter (or wider) to your desire. But I loved this length and width!
Here's a closer look at the cowl.
Err... it doesn't look quite right. How about this one? Apparently, it is a bit hard to take a self portrait while focusing on the cowl. Oh well!
See? The pattern is rather simple! The staggered bobble stitches make the diagonal stripes.
Of course, you can try to figure out the pattern from this. (^_^) But I'll be posting the pattern pretty soon, I promise. Until then, happy crocheting!
October 13, 2012
Faux Coiled Rope Coasters

These coasters were inspired by this beautiful hemp basket, made out of manila rope and cotton yarn. I did not have any rope in hand. And as usual, I tried to substitute the rope with something else. After rummaging my yarn stash, I found some super bulky yarn whose color resembled very close to a rope. I also had the idea to use a finer yarn/thread ( and smaller hook) for the crochet. The design turned out to be similar to those coiled rope coasters you see in handicraft shops. The only twist here was I used a colorful yarn to work around the bulkier yarn. And I'm thinking there is a lot of possibilities, since you can color co-ordinate both of the yarns to you desired decor. I'm also thinking, the pattern can be used to make bigger pieces (may be place mats) if you repeat Round 5 - 8 (although I haven't tested it yet).

Materials
- Some super bulky yarn (wt #6) - I used Hometown USA® Yarn in Little Rock Granite
- One skein crochet yarn/thread (wt #1) - I had Aunt Lydia's® Fashion Crochet Thread in size 3 (color: Maize)
- Crochet hook- US E/4 (3.50mm) hook
- Matching felt and thread (optional)
- tapestry needle
Finished Size
Approximately 4.5 inch in diameter
You have to work with the finer crochet thread around the bulkier yarn. Also, the pattern is worked in spirals; do not join after each round. Use a stitch marker to mark the beginning of a round. Since this pattern is based on the hemp basket pattern, I recommend to go ahead and see the steps for a more clear idea. All the sc from round 1 and beyond, are around the bulkier yarn, if not mentioned otherwise.
Begin
Make a magic ring, sc8 in ring, ch1, place marker. (8 st)
Round 1: *sc on next st, ch1; repeat from *. Move marker. (16 st)
Round 2: *sc on next ch sp, ch2; repeat from *. MM (24 st)
Round 3: *sc on next ch sp, ch1, sc on same ch sp, ch1; repeat from *. MM (32 st)
Round 4: *sc on next ch sp, ch2, sc on next ch sp, ch1; repeat from *. MM (40 st)
Round 5: *sc on next ch sp, ch1, sc on same ch sp, ch1; repeat from *. MM (64 st)
Round 6: *sc on next ch sp, ch2, sc on next ch sp, ch1; repeat from *. MM (80 st)
Round 7: *sc on next ch sp, ch1, sc on same ch sp, ch1, sc on next ch sp, ch1; repeat from *. MM (96 st)
Round 8: *sc on next ch sp, ch1; repeat from *. (96 st) ss on the first sc of the round.
Cut yarns. Tuck in the extra bulky yarn under the finer yarn, while weaving the ends. If desired, you can attach some felt on the bottom to make it look more polished.
October 11, 2012
Obstacles in Crafting
The last couple of days have been a bit frustrating craft wise. First of all, most of my projects fell through. Stuffs did not turn out, the way I imagined. Probably I need better planning/ pattern making ideas. Secondly, I started to re-learn a new skill: knitting. I picked up some sock weight yarn and knitting needles, expecting to produce something awe-inspiring. I kinda forgot, it doesn't work that way. When learning something new, you have to start from the basics. My eagerness to skip couple of lessons, resulted in sloppy work. Besides, my fingers were used to crochet for so long that holding needles in both hands turned out to be a completely new and confusing experience. All the negativity aside, I do admire my approach of 'full steam ahead'. After struggling with couple of size 3 needles, I managed to pull of a semi decent swatch of a complicated (to me) lace/ripple pattern. This was supposed to be a scarf. But of course, I lost patience.

After that, I decided to work on something that only involves knit and purl stitches. Also, I wanted to test drive my new circular needles. So, I started to make this cowl, with random colored stripes. Now if I only could stop it from rolling on to itself. Any ideas, dear knitters?

I DID manage to finish one new crochet project. A set of coasters. Inspired by these hemp baskets. Lovely, eh? The pattern (coming soon!) is a little bit different than the basket.

Have you hit a wall lately in creativity department? Any tips on how to develop a new skill? Please, do share. I'd love to hear from you!
After that, I decided to work on something that only involves knit and purl stitches. Also, I wanted to test drive my new circular needles. So, I started to make this cowl, with random colored stripes. Now if I only could stop it from rolling on to itself. Any ideas, dear knitters?
I DID manage to finish one new crochet project. A set of coasters. Inspired by these hemp baskets. Lovely, eh? The pattern (coming soon!) is a little bit different than the basket.
Have you hit a wall lately in creativity department? Any tips on how to develop a new skill? Please, do share. I'd love to hear from you!
August 27, 2012
Work in progress...
I think I've mentioned somewhere in this blog before how I have been working on some large projects. Well... I am still working on them. For me, large projects are usually hard to finish. First of all, most of the large crochet projects involve repetitions of either a motif or some pattern. I get quite excited for the first couple of motifs. Then at some point, I memorize the whole pattern (of the motif), and the project loses its charm. I don't know if this happens to anyone out there. But this happens to me all the time. That's why my favorite projects are the ones I can finish in 1-3 days. But I sometimes I do persevere and finish a sweater or two. Although, it took me 3 years to finish my first sweater. >_<

At first glance the patterns seem very intimidating. But then you realize, you just have to make multiple motifs and join them together. So I picked up two patterns to work on. I had to dare myself a little bit though ^_^. The first one is called Lacy Top (18). It is designed by Doris Chan. So, obviously it's very pretty. The fun part of this pattern is that it has three different versions of the motif. So the boredom with the same pattern doesn't happen much. You need to make total 30 motifs to finish this project. I've finished only 10 of them.

The second one is called Wrapped Tunic (5). This one is designed by Robyn Chachula. Again, like the lacy top, this pattern uses variations of the same motif. This requires me to finish 53 separate motifs ( a lot!!). To this day, I've finished 26. So I'm halfway there!

The yarns I used for this projects are my favorite - SPA by Caron. I think I've raved about this yarn before. It's a light weighted (3) yarn with a bamboo blend and nice shine. It gives amazing finish to any project. For the lacy top I'm using the Rose Bisque color and for the tunic, Naturally.


And then, couple of months ago, I picked up this magazine on my usual grocery run. It's Vogue Knitting's Crochet : 2012 special collector's issue. And it has so many beautiful and interesting crochet patterns!! I mostly liked the lacy patterns, which are my all time favorite.
At first glance the patterns seem very intimidating. But then you realize, you just have to make multiple motifs and join them together. So I picked up two patterns to work on. I had to dare myself a little bit though ^_^. The first one is called Lacy Top (18). It is designed by Doris Chan. So, obviously it's very pretty. The fun part of this pattern is that it has three different versions of the motif. So the boredom with the same pattern doesn't happen much. You need to make total 30 motifs to finish this project. I've finished only 10 of them.
The second one is called Wrapped Tunic (5). This one is designed by Robyn Chachula. Again, like the lacy top, this pattern uses variations of the same motif. This requires me to finish 53 separate motifs ( a lot!!). To this day, I've finished 26. So I'm halfway there!
The yarns I used for this projects are my favorite - SPA by Caron. I think I've raved about this yarn before. It's a light weighted (3) yarn with a bamboo blend and nice shine. It gives amazing finish to any project. For the lacy top I'm using the Rose Bisque color and for the tunic, Naturally.
July 20, 2012
Flower & Braid Bookmark Tutorial

For this project, you will need a small amount of any yarn and any sized crochet hook (compatible with the yarn). Seriously. Depending on your yarn and hook size, the bookmark will be either bigger or smaller. There is no need to worry about gauge, since this is a free form project. I used a size E (3.25mm) hook and a little bit of Aunt Lydia's® Fashion Crochet Thread in size 3 (color: Maize). Here we go...
1. Start making a flower. Again, any flower will do. My choice was this: ch 6, join. In the ring, (ch 4, 3-treble cluster, ch 4, sl st) x 5.
2. Finish the flower and weave in ends.
3. Flip the flower. Take 3 yarn strands- 30 in. each. Using a yarn needle, attach them in between two petals.
4. Tie a knot in the middle of the yarns to secure them. Make sure the strands are of same length.
5. Divide the strands in three groups (2 in each) and braid. To make it easier, you can secure the flower to a soft surface (a pillow or something similar) with a pin.
6. Leave 3-4 in. at the end, and tie a knot on braid to secure it. Trim the tassel to make sure they are even. And you are done!!
If you have any queries or comments, let me know. I'll try my best to help.
July 15, 2012
New Project: Flower & Braid Bookmark
You must know I love summer. To commemorate my love for summer and books, here's my new crochet project: flower and braid bookmark.

This was a super-fast project. It only took me 30 minutes to finish this, including pauses for the photo shoots. Although I've made it using only one color, the braid can be made in multiple colors to give variations. I think this might be a great gift for book lovers, too! I'll be posting the tutorial/pattern very soon.
Speaking of books, have you read The Happiness Project yet? If not, go ahead and grab a copy. It's a great book!! It has shaped much of my outlook and helped me gain perspective in the matter of happiness. I highly recommend it.

What are you reading this summer?
This was a super-fast project. It only took me 30 minutes to finish this, including pauses for the photo shoots. Although I've made it using only one color, the braid can be made in multiple colors to give variations. I think this might be a great gift for book lovers, too! I'll be posting the tutorial/pattern very soon.
Speaking of books, have you read The Happiness Project yet? If not, go ahead and grab a copy. It's a great book!! It has shaped much of my outlook and helped me gain perspective in the matter of happiness. I highly recommend it.
What are you reading this summer?
July 8, 2012
Wittle Heart
With our upcoming move at the end of the month, I am swamped with moving details. We are moving out of state and will be driving across 7 (or 8) different states. Yes, it's pretty intense! I started to pack most of my stuff, which include crafting materials too. I hate to complain, but I barely have time to sit down and work on my larger projects. >_<
But now and then, I'll stop everything and make something small. My latest project is a cute amigurumi heart. Which is rather small (2.5" x 2.5").

My initial idea was to attach it to my key chain as a charm. But for the life of me, I cannot find any pliers in the house. This tiny heart can also be used for those valentine's day bears. It is the perfect size! The pattern I used, was from ravelry again. For this project, I used invisible decrease technique for the first time. This is marvelous and produces more uniformly placed stitches minus the gaping hole.
Since the heart is unattached at the moment, it can be found in random places. Recently it was found here... ^_^

How was your weekend so far?
But now and then, I'll stop everything and make something small. My latest project is a cute amigurumi heart. Which is rather small (2.5" x 2.5").
My initial idea was to attach it to my key chain as a charm. But for the life of me, I cannot find any pliers in the house. This tiny heart can also be used for those valentine's day bears. It is the perfect size! The pattern I used, was from ravelry again. For this project, I used invisible decrease technique for the first time. This is marvelous and produces more uniformly placed stitches minus the gaping hole.
Since the heart is unattached at the moment, it can be found in random places. Recently it was found here... ^_^
How was your weekend so far?
June 27, 2012
Rose Headband
I've been meaning to build a gift stash for a while. And here's a new addition to it. Another headband. This time with a rose. Actually, the headband was made later. I was browsing some flower patterns. And stumbled upon this rose pattern. I immediately began working on it. After I finished, I was amazed by how nice it turned out. And I thought, it will look absolutely adorable on a baby's head! So I made a simple headband and attached the rose. It looks quite pretty, doesn't it?

I made all the headbands with Caron's SPA yarn. I'm practically in love with it. It has a soft feel and a nice sheen to it. As a beginner, I worked mostly with cheap yarns. As my experience is growing, I feel a little more comfortable to work with expensive and good quality yarn. Someday I'll buy more grown up yarns. Someday.
I made all the headbands with Caron's SPA yarn. I'm practically in love with it. It has a soft feel and a nice sheen to it. As a beginner, I worked mostly with cheap yarns. As my experience is growing, I feel a little more comfortable to work with expensive and good quality yarn. Someday I'll buy more grown up yarns. Someday.
June 25, 2012
Amigurumi Adventures
For the last couple of days, I've been working on some large projects (think- sweaters, vest, wraps). Hence the lack of posts. In the meantime, I've managed to finish couple of crochet toys. I always wanted to make amigurumis, but was quite intimidated by them. As my crochet skill improved, I wanted to design my own. That's how, Ms. Owlie was born. I loved making her! But designing her seemed quite tedious. Besides there are tons of patterns out there already.


Next I made - this little blue birdie. It's also a she, like the rest the bunch. I used the pattern from here. I used felt pieces for eyes instead. To make sure she looks extra pretty, I attached the cute little flower on her head. Also she has long eye lashes.
I might add some new members to the bunch in future. For now, I'm content with these two hanging around the house.
If you want to see more amigurumi goodness, go ahead and check out Stephanie's All About Ami blog. She makes fabulous amigurumi that'll blow your mind.
May 16, 2012

May 14, 2012
Flower Coasters: Pattern

First, I'd like to be honest. This is not 100% my design. I was inspired by a similar coaster found in ravelry and started to work as it is. But the pattern didn't work out for me. So I had to redo my calculations and came up with this pattern. So you can say, this is a modification of this. The pattern is written with joining the rounds. You can also work continuously. In that case, omit the chain 1 at the beginning of each round. Do not turn the work.
Material
- Some worsted weight cotton yarn. I used peaches and cream in rouge red and dark taupe (center).
- Brown felt for backing.
- US G (4.25mm)
- tapestry/wool needle and
- a fine needle and matching thread to sew the felt pieces.
Finished Size
Approximately 4.5 inch in diameter
Begin
Using the dark taupe yarn, make a magic ring.
Round 1: 7 sc in ring. Pull the yarn to close the ring. Sl st in first sc to join. (7st)
Round 2: Ch 1. 2 sc in every st. sl st in first sc to join. (14 st)
Round 3: Ch 1. * sc in next st, 2 sc in next st. Rep from *. sl st in first sc to join. (21 st)
Round 4: slip stitch the entire row. (21 st).
Switch to red.
Round 5: working into the top loops of previous round (not the sl sts), ch 1 *sc in next 2 sts, 2 sc in next st. Rep from *. sl st in first sc to join. (28 st).
Round 6: ch 1. * sc in next 3 sts, 2 sc in next st. Rep from *. Sl st in first sc to join. (35 st).
Round 7: ch 1. * sc in next 4 sts, 2 sc in next st. Rep from *. Sl st in first sc to join. (42 st).
Round 8: sl st in next st; * skip next st, 3 dc in next st, 2 hdc in next st, 3 dc in next st, skip next st, sl st in next st. Rep from *. Fasten off. (7 petals made).
Using the red yarn, embroider the line that separates the petals. Sew the flower to the felt. Cut the felt around the flower.
The pattern is written with standard US crochet terms.