Showing posts with label Homely Goodness. Show all posts

September 26, 2014

Kitchen Adventures: Asian Rice Bowl

At a very early age, I knew being a homemaker is not my calling. It’s not that I was a terrible cook or anything; I just didn't have much patience or love for routine. To me, meal planning, cooking the same thing every other day sounded awfully boring. I never knew once I grow up, I’ll crave the certainty of routines to avoid epic meltdowns in the kitchen because I ran out of cumin. After many misadventures in the kitchen, I started devising plans. Now I cook almost the same thing every week. Every Tuesday is ‘Chickpea Tuesday’. But that’s another story. The main star of this story is the rice bowl. I cannot say enough good things about rice bowls. Being an Asian, love for rice is probably in my blood. They are amazingly satisfying. No matter if they are Tex-Mex styled or Asian Fusion. Also, cue in the #thisiswhyiamfat.
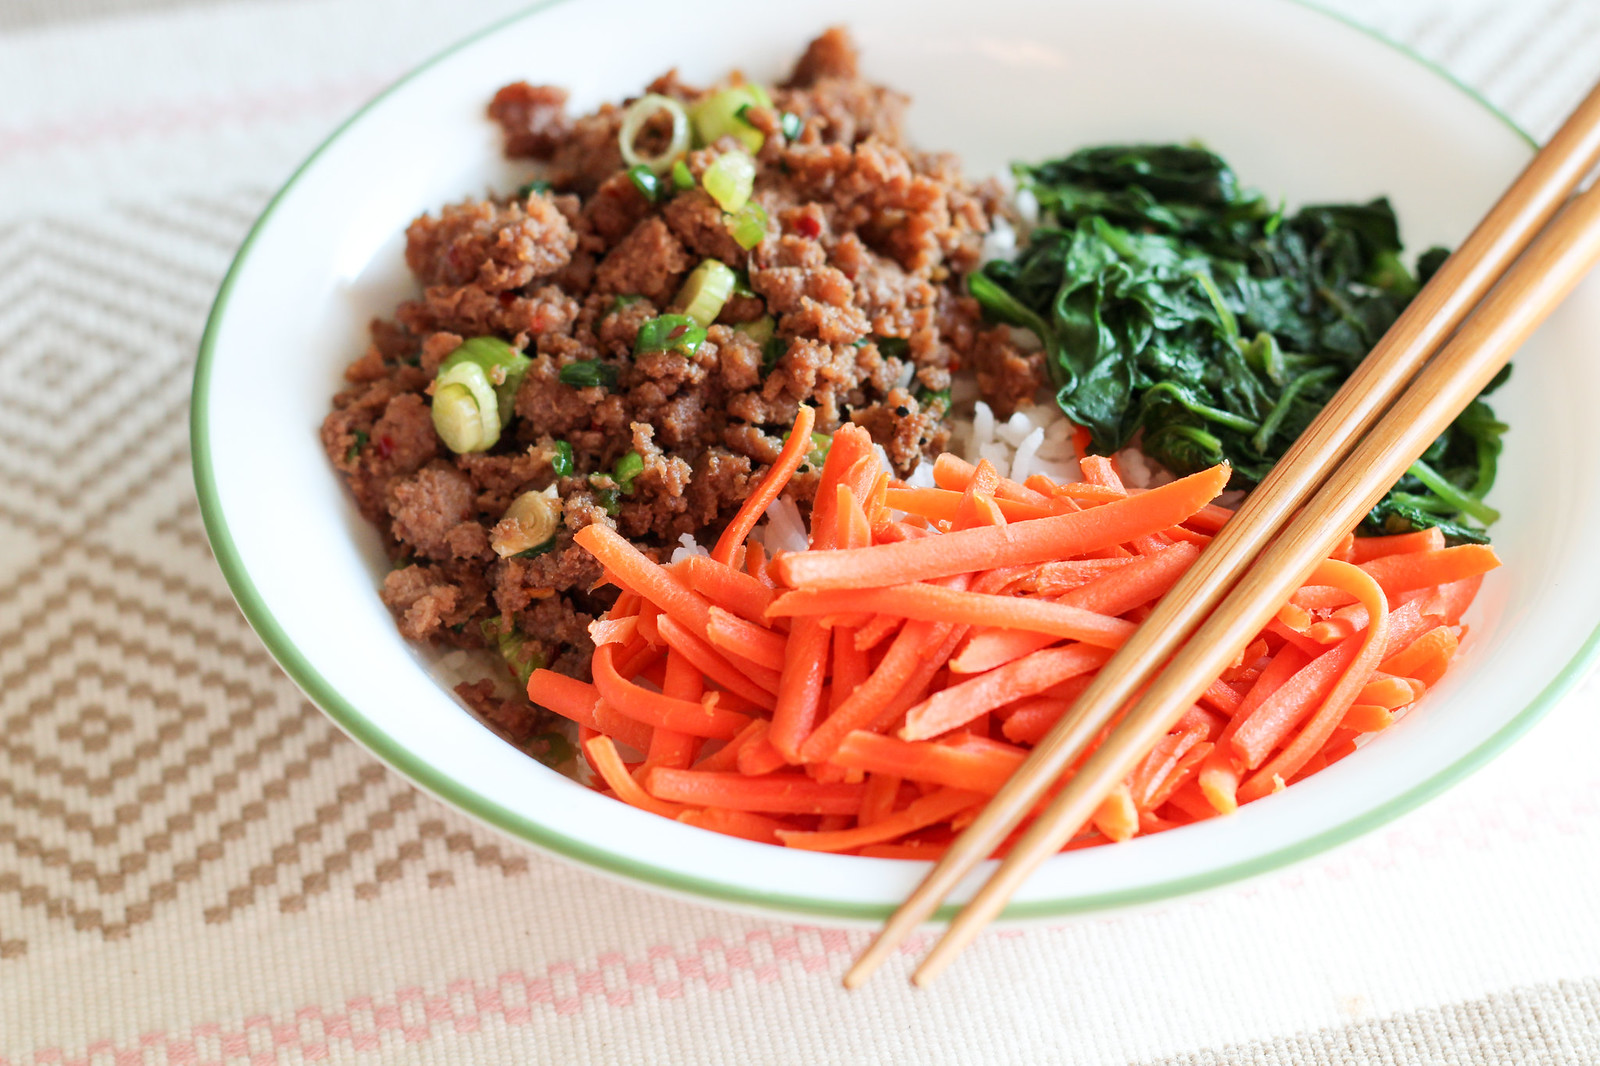
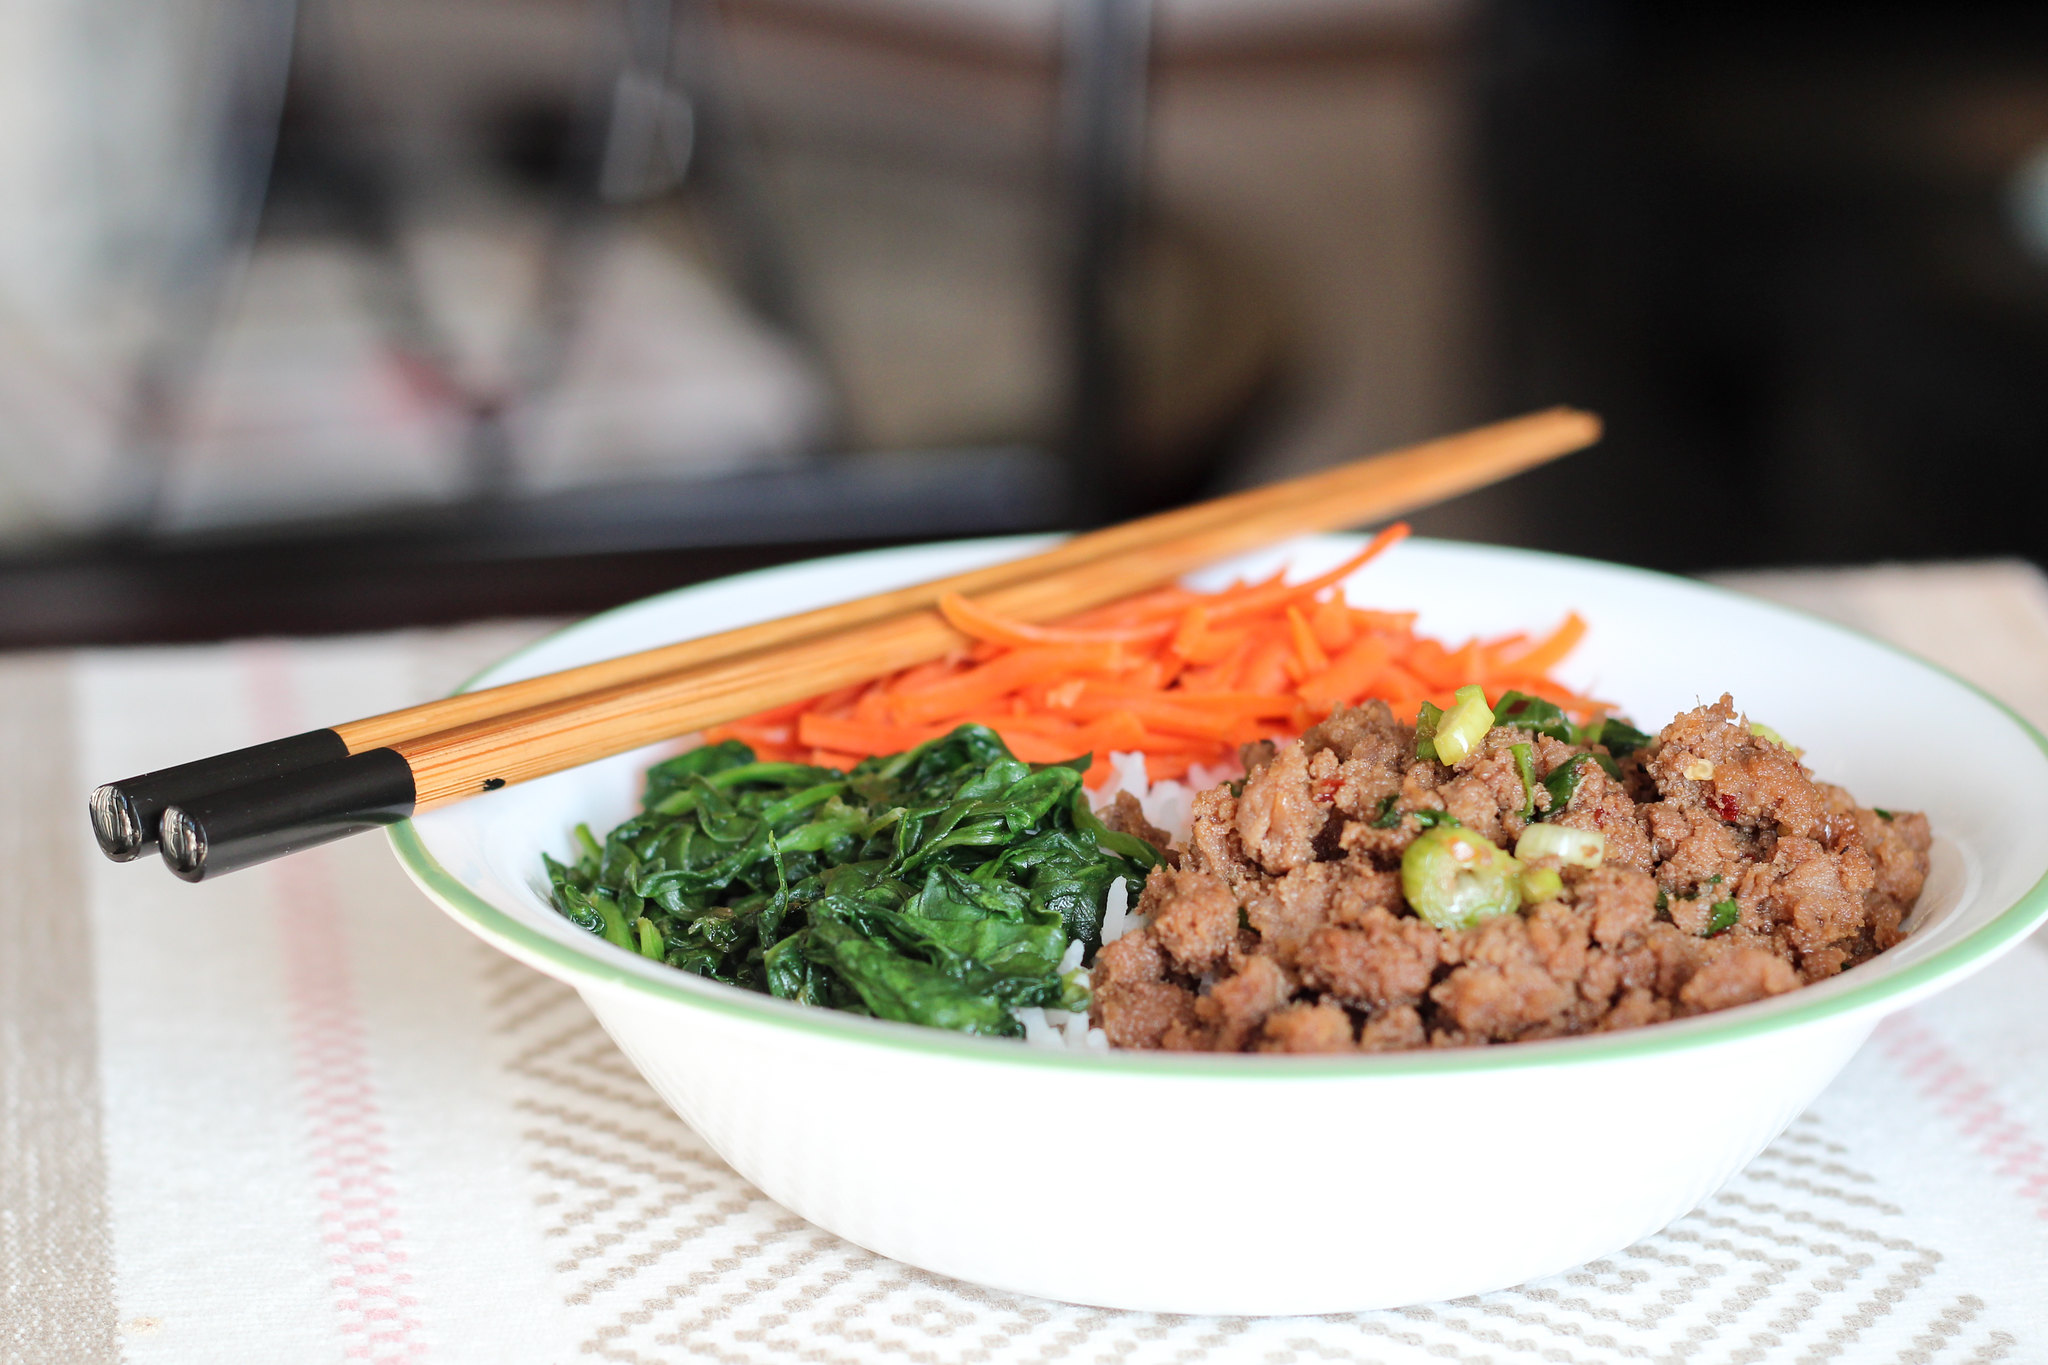
Asian Rice Bowl

Asian Rice Bowl

So I made this Asian inspired rice bowl the other day. I found this yummiest (and the easiest) Korean beef recipe on Pinterest. And it was a huge hit. Here I made it with ground turkey. It has a great sweet-salty-spicy-smoky flavor. I love ginger in Asian food, so I doubled the amount from the original recipe. The carrot is cooked in Japanese Kinpira style; which is just a fancy way to say it was sautéed and simmered. I found the recipe in Just Bento blog/cookbook, which is one of my favorites. Finally, the spinach is just wilted and sprinkled with a bit of sesame oil. (If you are into Korean or Japanese food you should get some sesame oil for your pantry. It completely changes the flavors of vegetables and makes them extra yummy). All of these topped my bowl of steamed Basmati rice. I used Basmati, because that’s all I have in hand. You can go for either long or short grain rice.
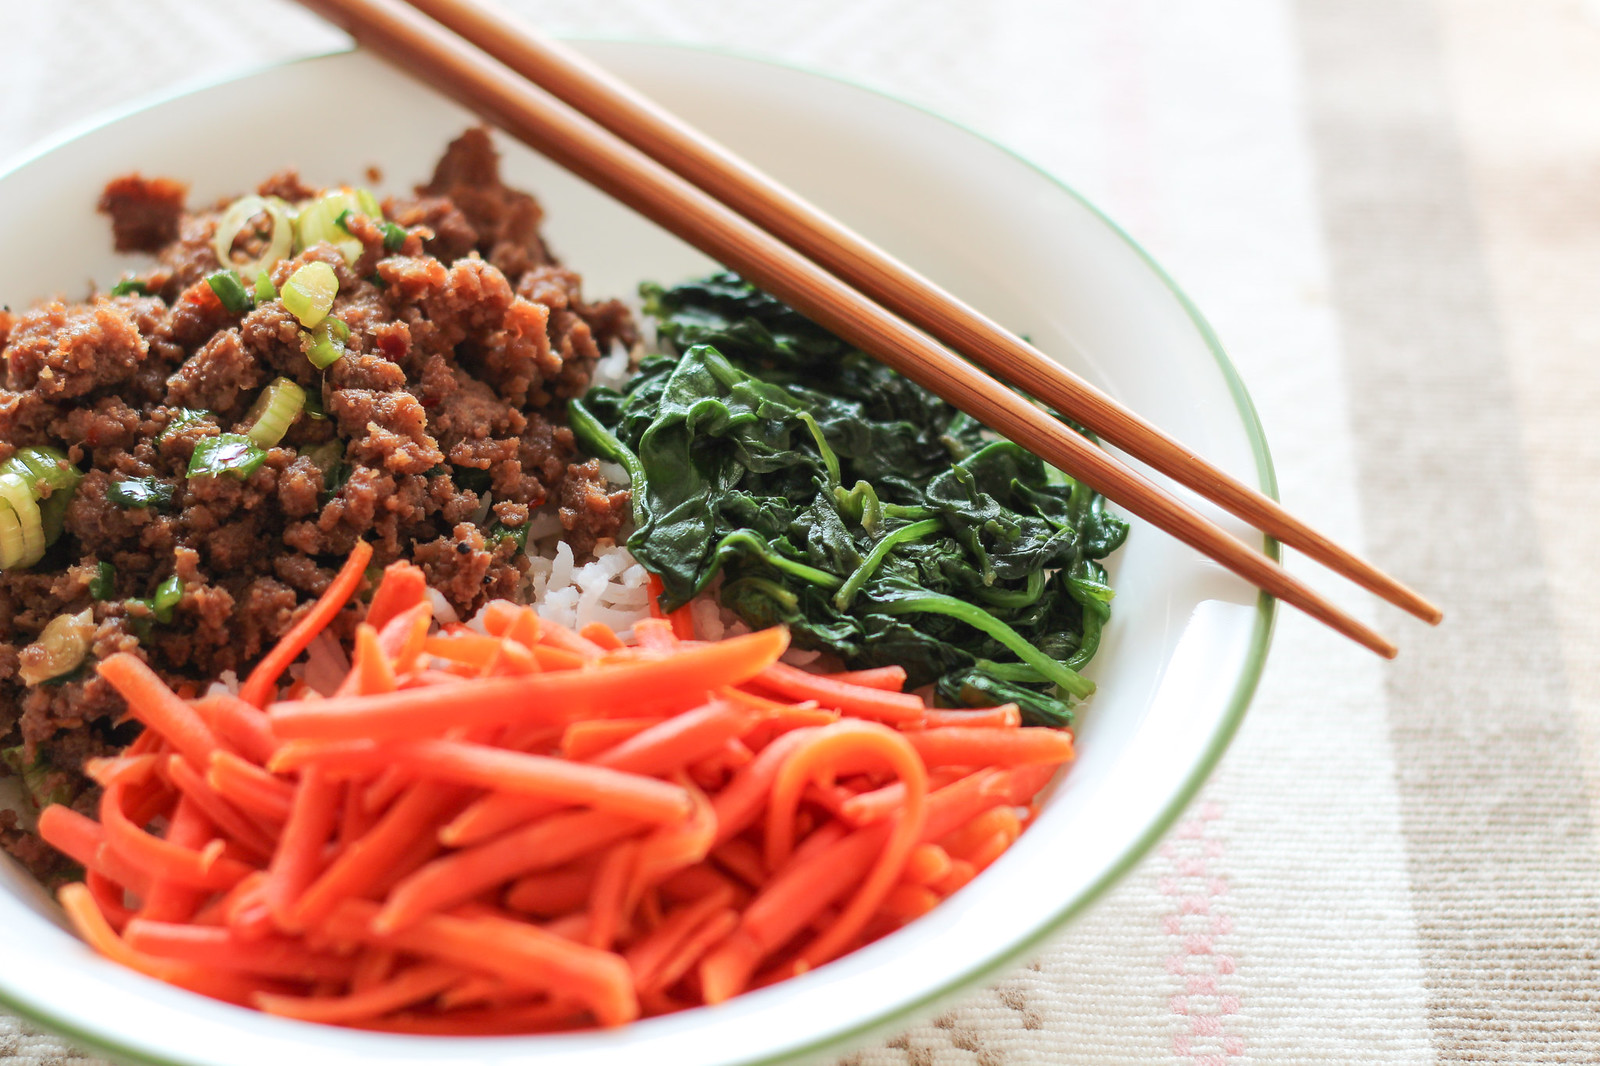
Asian Rice Bowl
The recipes that I used:
Korean Beef
Carrot Kinpira

Are you a rice fan? What is your favorite rice dish to cook? Do share! I love to read your comments.

February 4, 2013

Food in Pictures: Raisin Bran Muffins

If you have been following me on Twitter, you would have noticed, lately I have been making muffins. A lot of them. So much so that I have been coming up with my own muffin recipes (banana- chocolate chip is a favorite). You probably do not know this about me, but I looooove baking! There is something very therapeutic about perfectly measuring out ingredient after ingredients and then making scrumptious treats. All for the name of convenience during breakfast.

So one morning, I was snapping some pictures of my (somewhat) freshly baked raisin bran muffins. Suddenly, it occurred to me, I could do this segment on the blog called 'Food in Pictures'. Where I would post some pictures of my latest culinary ventures. And get to practice my photography a little.

Raisin Bran Muffins

But I don't want this blog to turn into a food one. Because, first, I can barely keep food after I cook. The hubs and I will devour it with such urgency, you can say, we practically inhale them. Second, I am terrible as a food blogger! And I really do not want to turn into one. I rarely take step by step pictures of my food making process. Because, besides baking, cooking makes me a bit neurotic. I get so anxious about how my food will turn out, I completely forget how to take pictures or that I own a camera. So we will stick to the foods, which come in batches. So I can taste some of them before taking pictures. And after my hungry belly is cooled down, I will have plenty of time to pose/style those said foods and be content with the snapshots.

Raisin Bran Muffins

For today's post, I am showing off my Raisin Bran muffins. I have been trying to come up with a recipe of bran muffins, where it does not come out dry or overly chewy. The ratio of bran to flour I used was 1:4. And it has ton of raisins! One and half cup to be exact. I am telling they were pretty good!

Raisin Bran Muffin

So what do you think about this idea? Do you want to see more pictures of 'what's cooking in my house'? Or do you want the recipe, too? Please let me know. Take care!

November 27, 2012

Thanksgiving Dinner Recap

Last week, on Thanksgiving day, we did something different. Usually we skip cooking something fancy on Thanksgiving, since it's just the two of us. But this year, we indulged ourselves with a mini Thanksgiving feast. Our menu was quite simple, actually:

Mashed Potatoes

Thanksgiving Dinner for Two

Everything turned out so great, I couldn't resist myself taking some pictures. And they were few of my best pictures I've ever taken. So much so, I kinda drooled a bit while editing them. ^_^

Herb and Lemon Roasted Cornish Hens

Mashed Potatoes

Green Beans with Cranberries and Walnut


Sweet Potato Casserole

How was your Thanksgiving Day? Did you eat or cook something fancy? Please do tell. I love to read your answers!

September 27, 2012

DIY: Desk Drawer Makeover

From the very beginning, we chose to move to an unfurnished apartment. But as much as I love to shop for new furniture, challenges emerge very often. First up, we wanted to stick to a small budget, because we might end up moving again, in a year or so. So hand-me-downs were perfect for us. Now, our regular Friday ritual consists of trolling Craigslist for moving/garage sales. Second, people often exaggerate about the condition of their furniture on Craigslist. So you end up investing much time, energy and money to make it appealing. After much ordeal, we have acquired a couch, an upholstered chair, a desk and a wooden chair. And we got them for a bargain. The desk costs us only 8 bucks!

Teh Desk

The desk looked quite nice from the outside. Unfortunately, the drawers were a mess! It was probably owned by a 10 year old.

Inside of Drawer: Before

My first thought was to cover them with newspapers and call it a day. Challenge? We don't have a newspaper subscription! And then, I had a light-bulb moment. Pinterest!!! After much searching, I found this great idea by Sherry from Young House Love. Wrapping lined drawers!!!


I didn't have all the necessary craft supplies on hand. So I went to Michaels' to grab Mod Podge, foam brush, and some pretty wrapping paper. I bought two coordinating wrapping papers. The initial plan was to cover the base of the drawer with one color and the sides with another. I followed Sherry's instructions to a T for the procedure.

supplies

After cleaning out the drawers with damp paper towels, I removed all the drawer pulls with a screwdriver. Then I put on a thin layer of Mod Podge on the drawer and stuck the pre-cut wrapping paper on the surface. I tried my best to smooth out and bubbles or wrinkles. Which turned out to be real hard.

first layer of Mod Podge

base

Then I did the same thing for the sides.

sides

I tried to be clever and cut out strips and creased at the corners. Which was a big mistake! Next time, I will cut the paper for one side at a time. Then I waited for couple of hours (about 4-5 hours) to let them dry before applying the second coat of Mod Podge. The second layer was applied deliberately yet thinly. As this was my first Mod Podge project, I wasn't very sure what to expect. I had quite a few bubbles and wrinkles resurface. My guess is the paper did not adhere well to the drawer in the first step. I don't have a picture for this second layer step. At this point it was quite late at night. Anyways, after I was finished with coating all the drawers, I let them dry overnight.

The next day, I poked the paper through the holes and re-attached the drawer pulls. And Voila! My desk drawers were ready to be stuffed with all the stationary goodness!

Inside of Drawer: After

Here's a closeup of the final product. The wrapping papers are in bright colors. Which I thought would be very appropriate as a break from long brainstorming sessions.

closeup #2

The best part was that the whole project cost me only $6.25. It is great to be crafty!

Have you done any DIY/makeover inspired by Pinterest lately? Please do share!